1. Start Microsoft Management Console (MMC) Tool
Click Start -> Run -> Enter 'MMC' and click 'OK'

2. Click File -> Add/Remove Snap-In...

3. Add Certificate.
Select 'Certificates' in left panel and click 'Add' to move to right panel , Then Click 'OK'

4. Select 'Computer Account' option and click 'Next'
5. Click 'Finish'

6. Click 'OK'.

7. Start to import Trusted Root Certificate.
A. Expand Certificates Node;
B. Right click Trusted Root Certificates -> All Tasks -> Import.

8. Click Next.

9. Select downloaded Certificate file
Click 'Browse' to select correct Certificate file and click Next

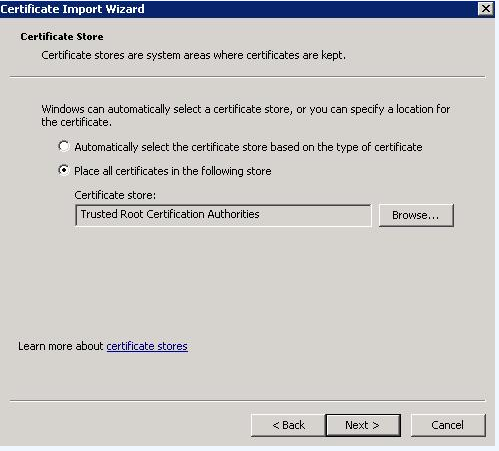
10. Click Next.
11. Click Finish.
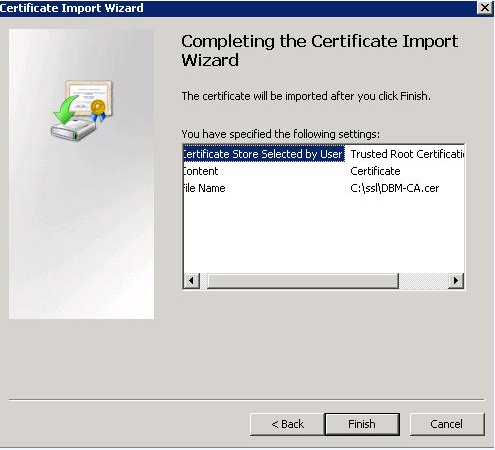
12. Done.

Click Start -> Run -> Enter 'MMC' and click 'OK'
2. Click File -> Add/Remove Snap-In...
3. Add Certificate.
Select 'Certificates' in left panel and click 'Add' to move to right panel , Then Click 'OK'
4. Select 'Computer Account' option and click 'Next'

5. Click 'Finish'
6. Click 'OK'.
7. Start to import Trusted Root Certificate.
A. Expand Certificates Node;
B. Right click Trusted Root Certificates -> All Tasks -> Import.
8. Click Next.
9. Select downloaded Certificate file
Click 'Browse' to select correct Certificate file and click Next
10. Click Next.
11. Click Finish.
12. Done.


No comments:
Post a Comment